


In this tutorial, I’m going to show you how I make animations for my game with Rive. You can see here a previous example I did with my miner character.

Rive is a powerful tool for animation that can plug into almost any piece of code.
It has a state machine interface that seamlessly blends different animations based on user input.
Adding Art
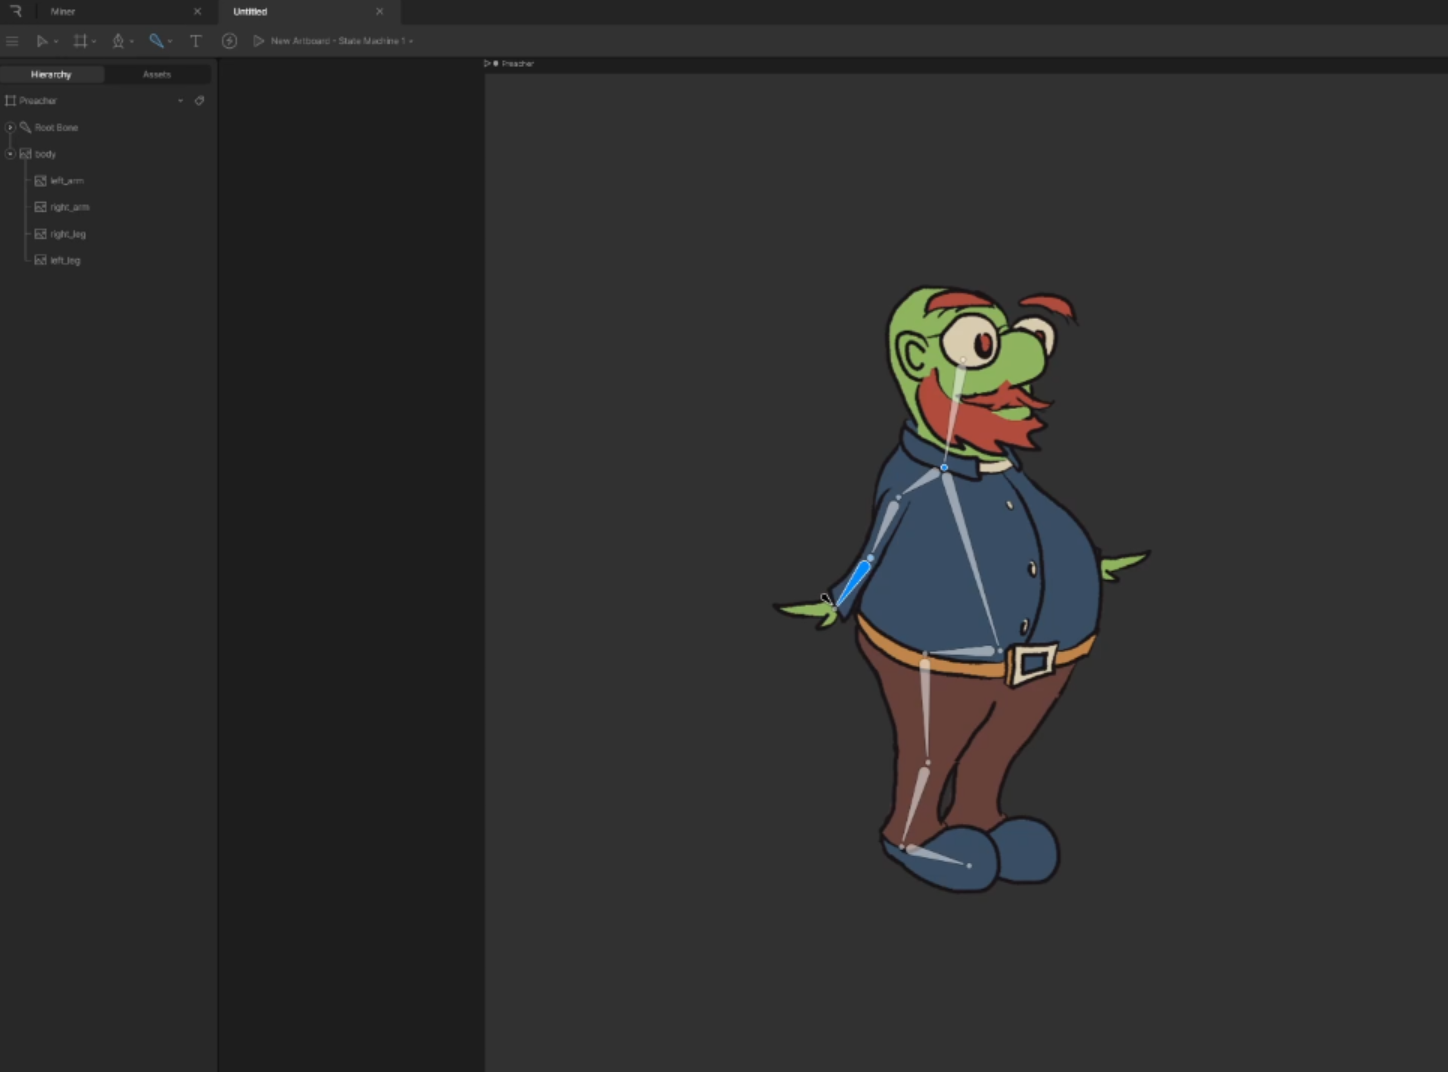
Lets start by creating a new workspace and importing images in the assets tab. I tend to split up my character into each limb and a body.
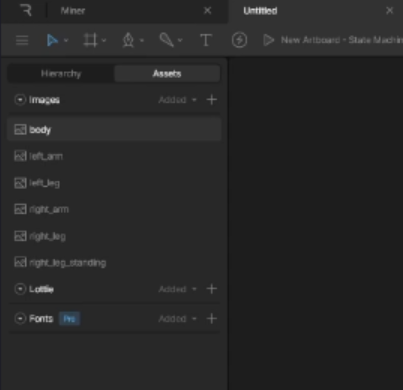
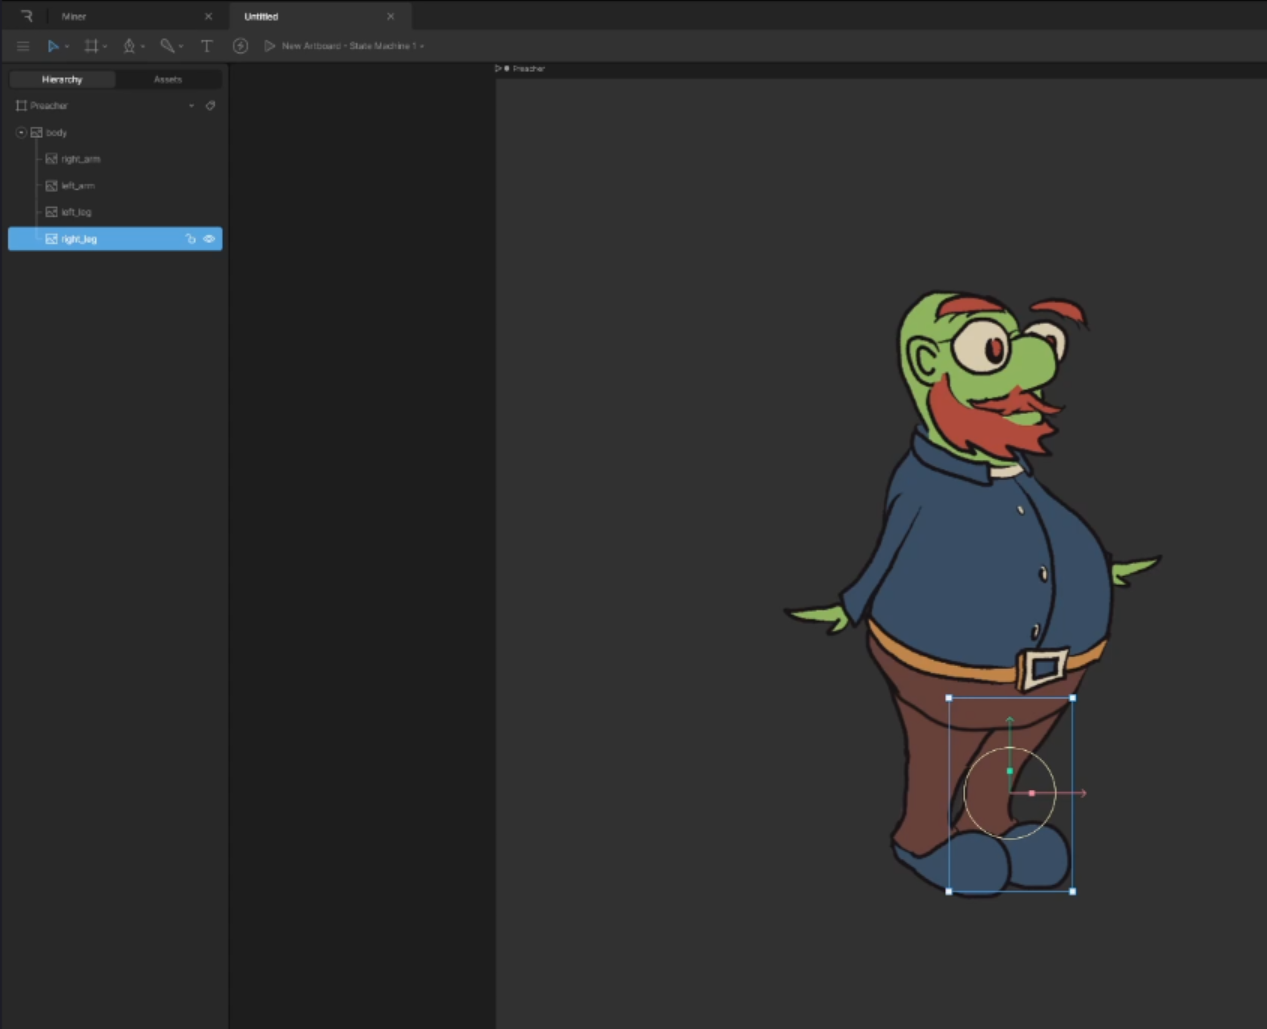
After this, just drag and drop the parts in order onto the canvas.

You may notice that some of the parts are layered incorrectly. Do your best to get them in order in the tree view on the left.
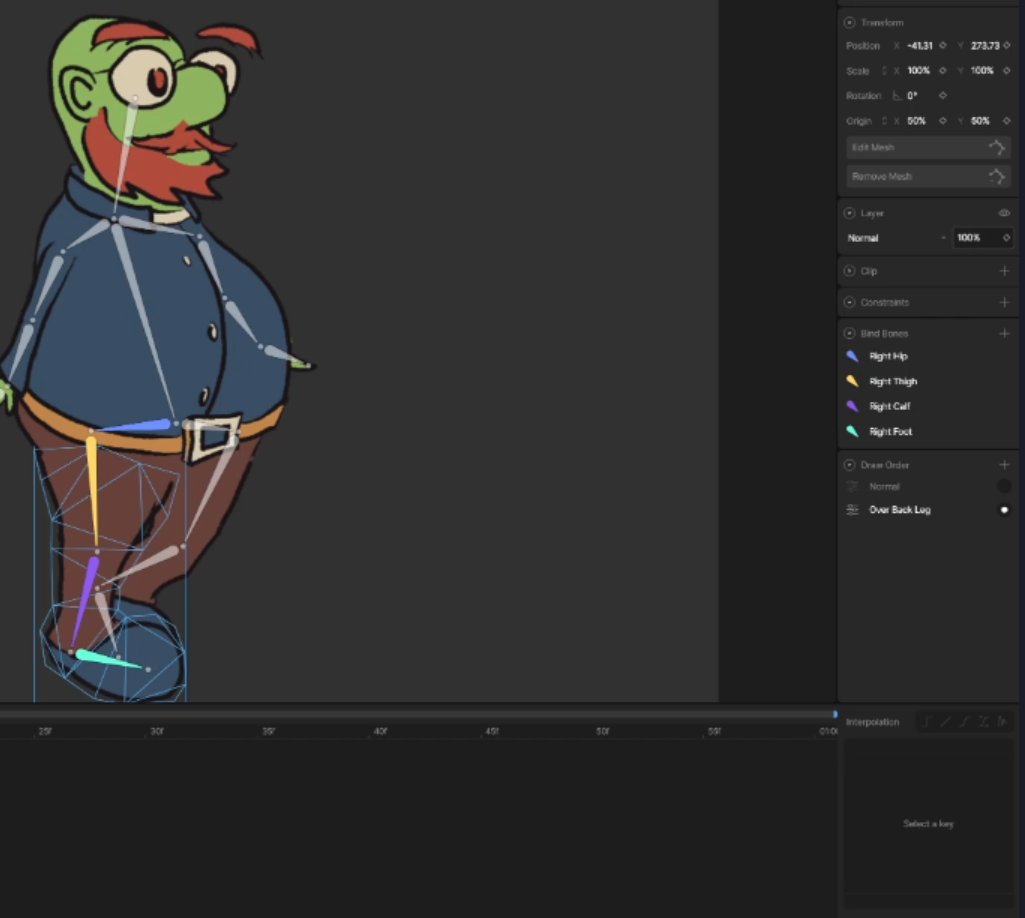
Even after this, some layers may not be quite right. We can fix this by adding a draw order property in the window on the right.
Select the target the object should draw over and be sure to enable it with the radio button.
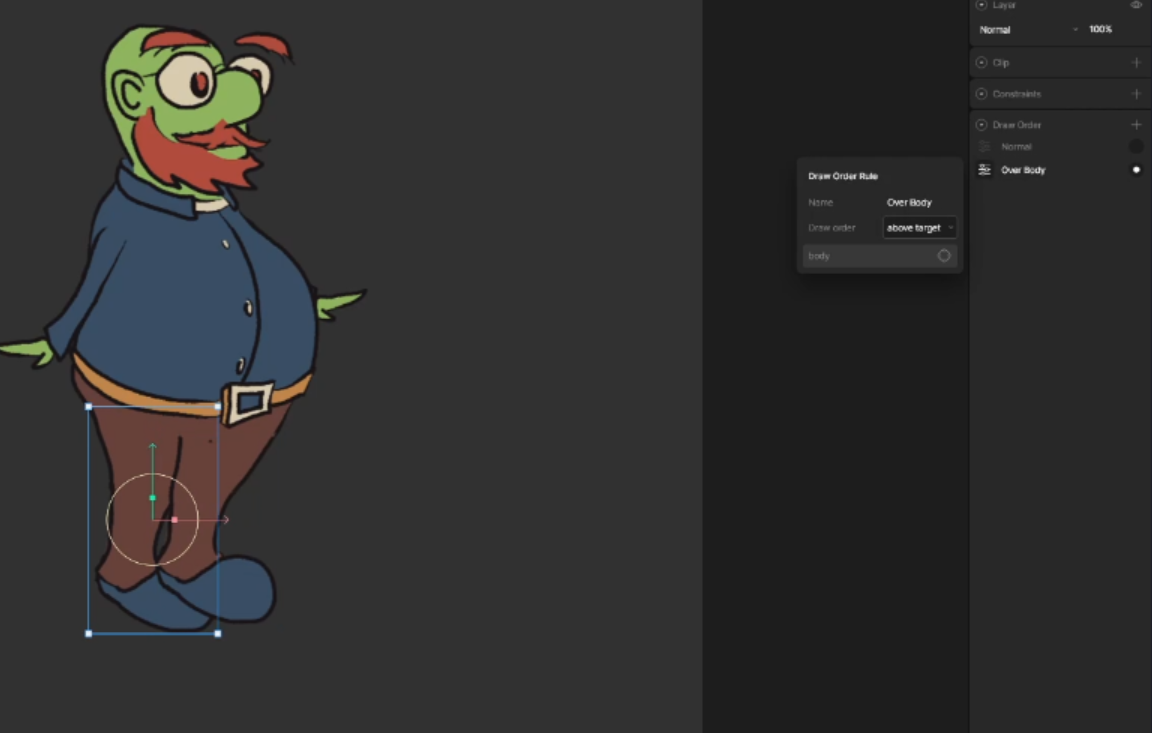
These can be toggled later during the animation if needed.
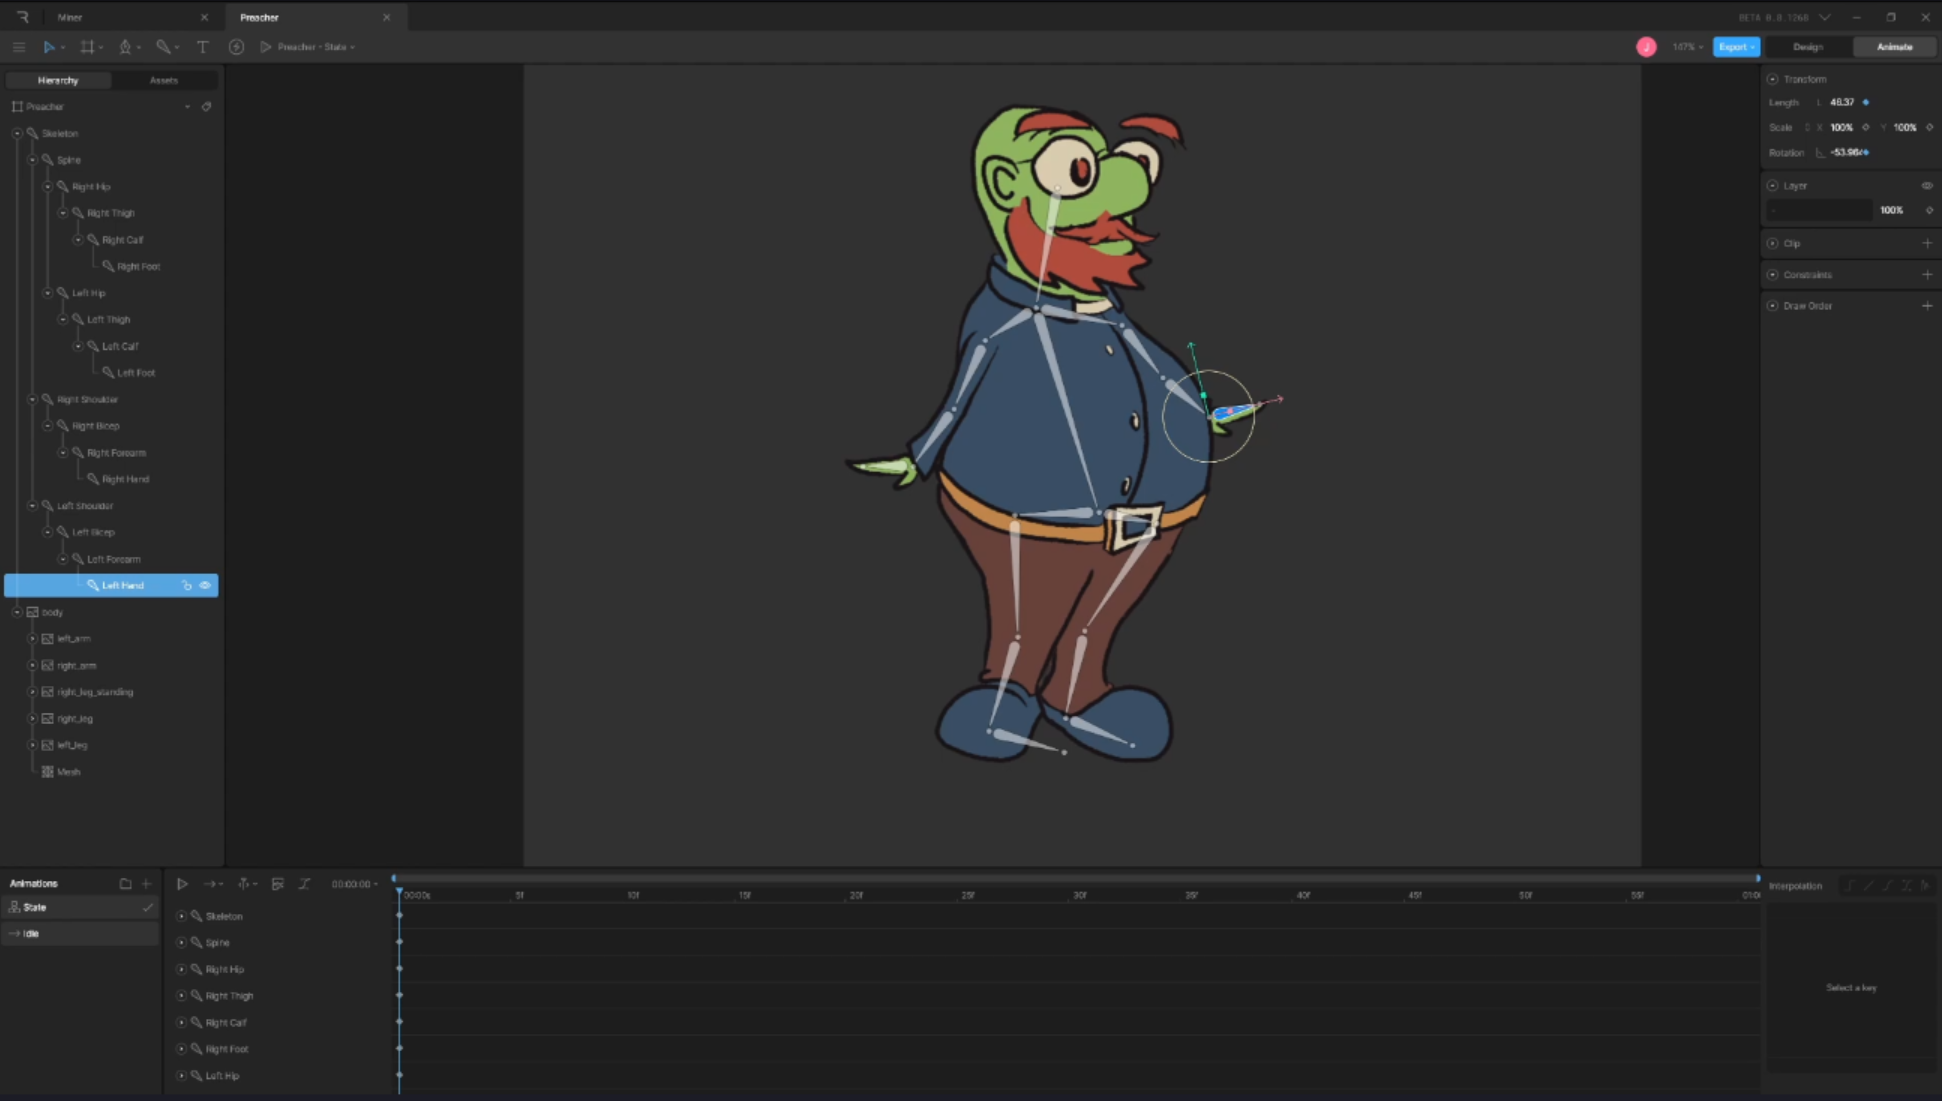
Building the Skeleton
Next we will build the skeleton of the character using the bone tool. This will make it much easier to animate our art later.
Start by clicking somewhere close to the base of the character and build outward. When you are finished with a section, press the V key.
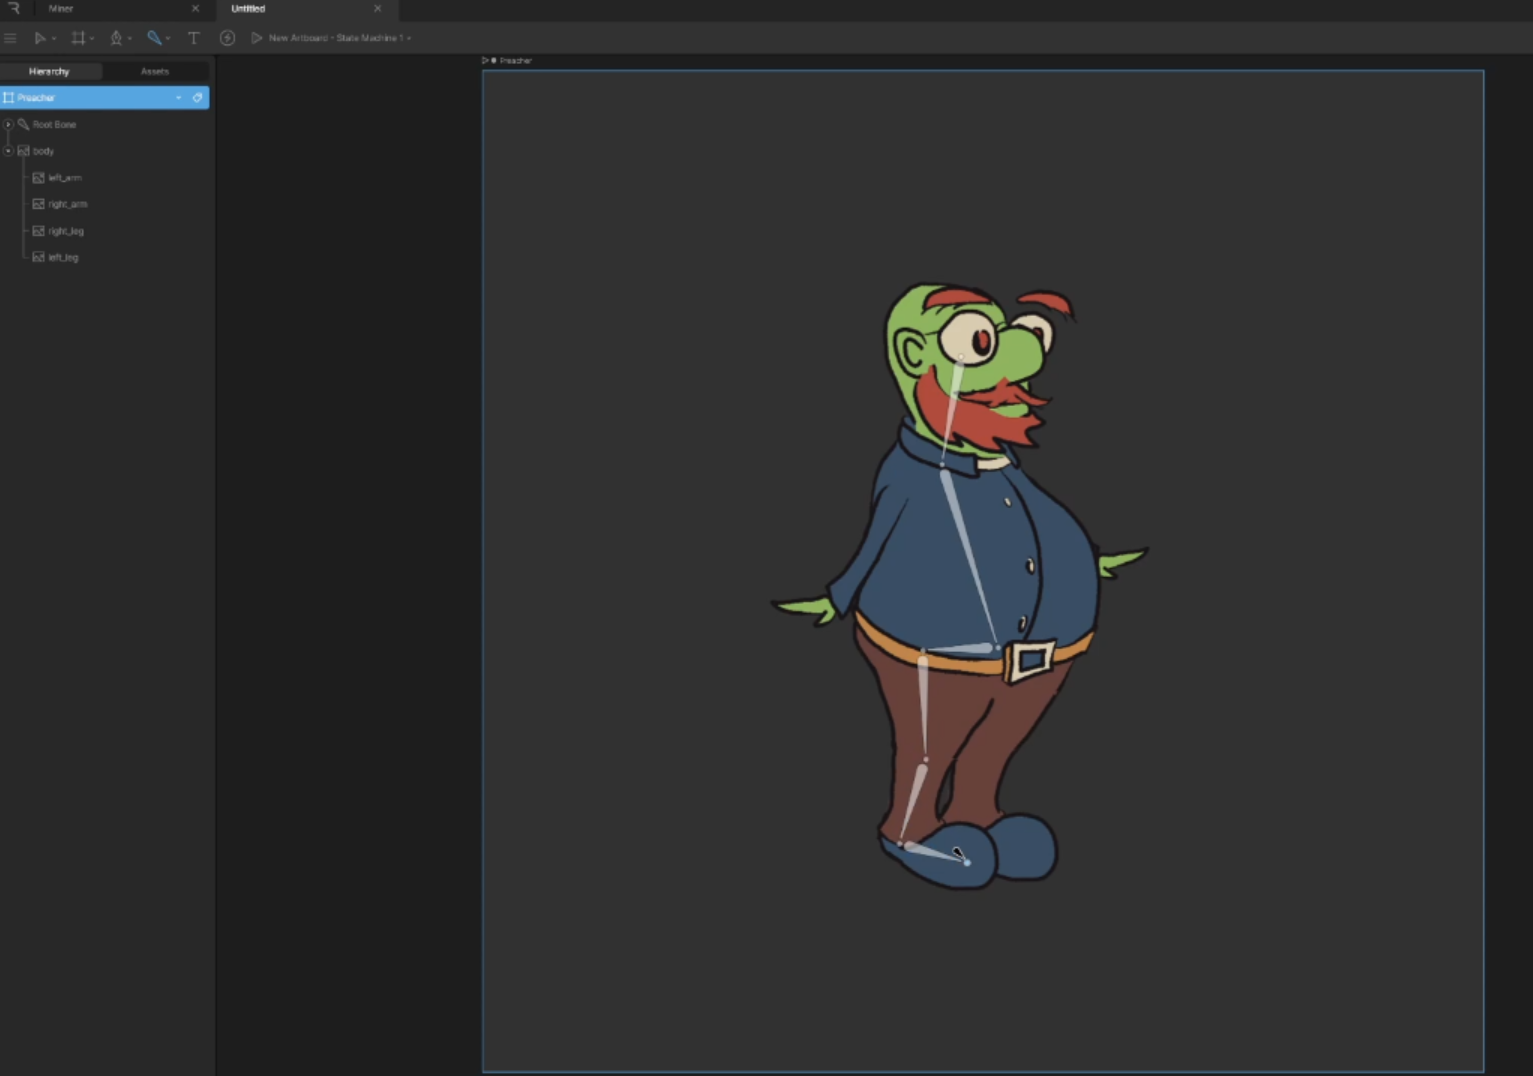
You can continue by clicking the end of another bone and clicking the B key.
Keep in mind that parent bones will control their children so work down from the top.
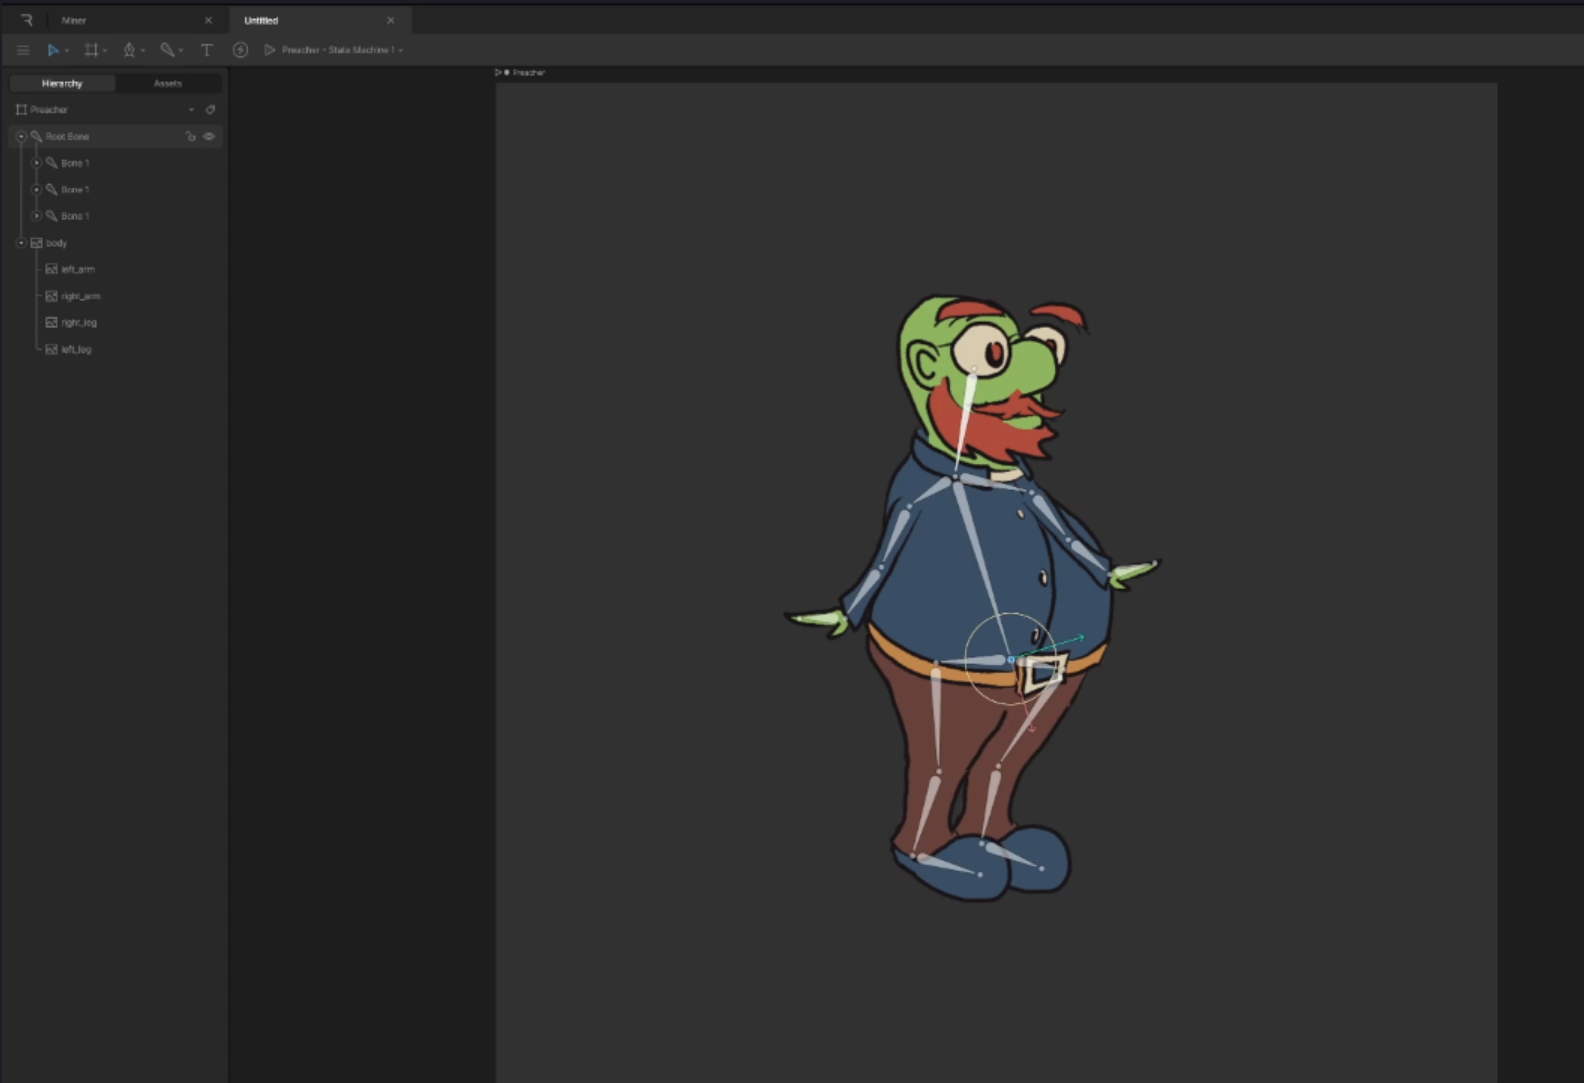
In this example, I’m going to create an alternate image for the right leg for when the character is standing. We will get into that later, but for now, we can set the opacity in the settings on the right so it is invisible.
Creating Meshes
Rive uses Meshes to morph and weight images, attaching them to bones. To add this, we can select an image, click Create Mesh, then New Contour. You can then trace the edges of your image to create a mesh. Add several points in key areas such as by the elbow and around the hand.
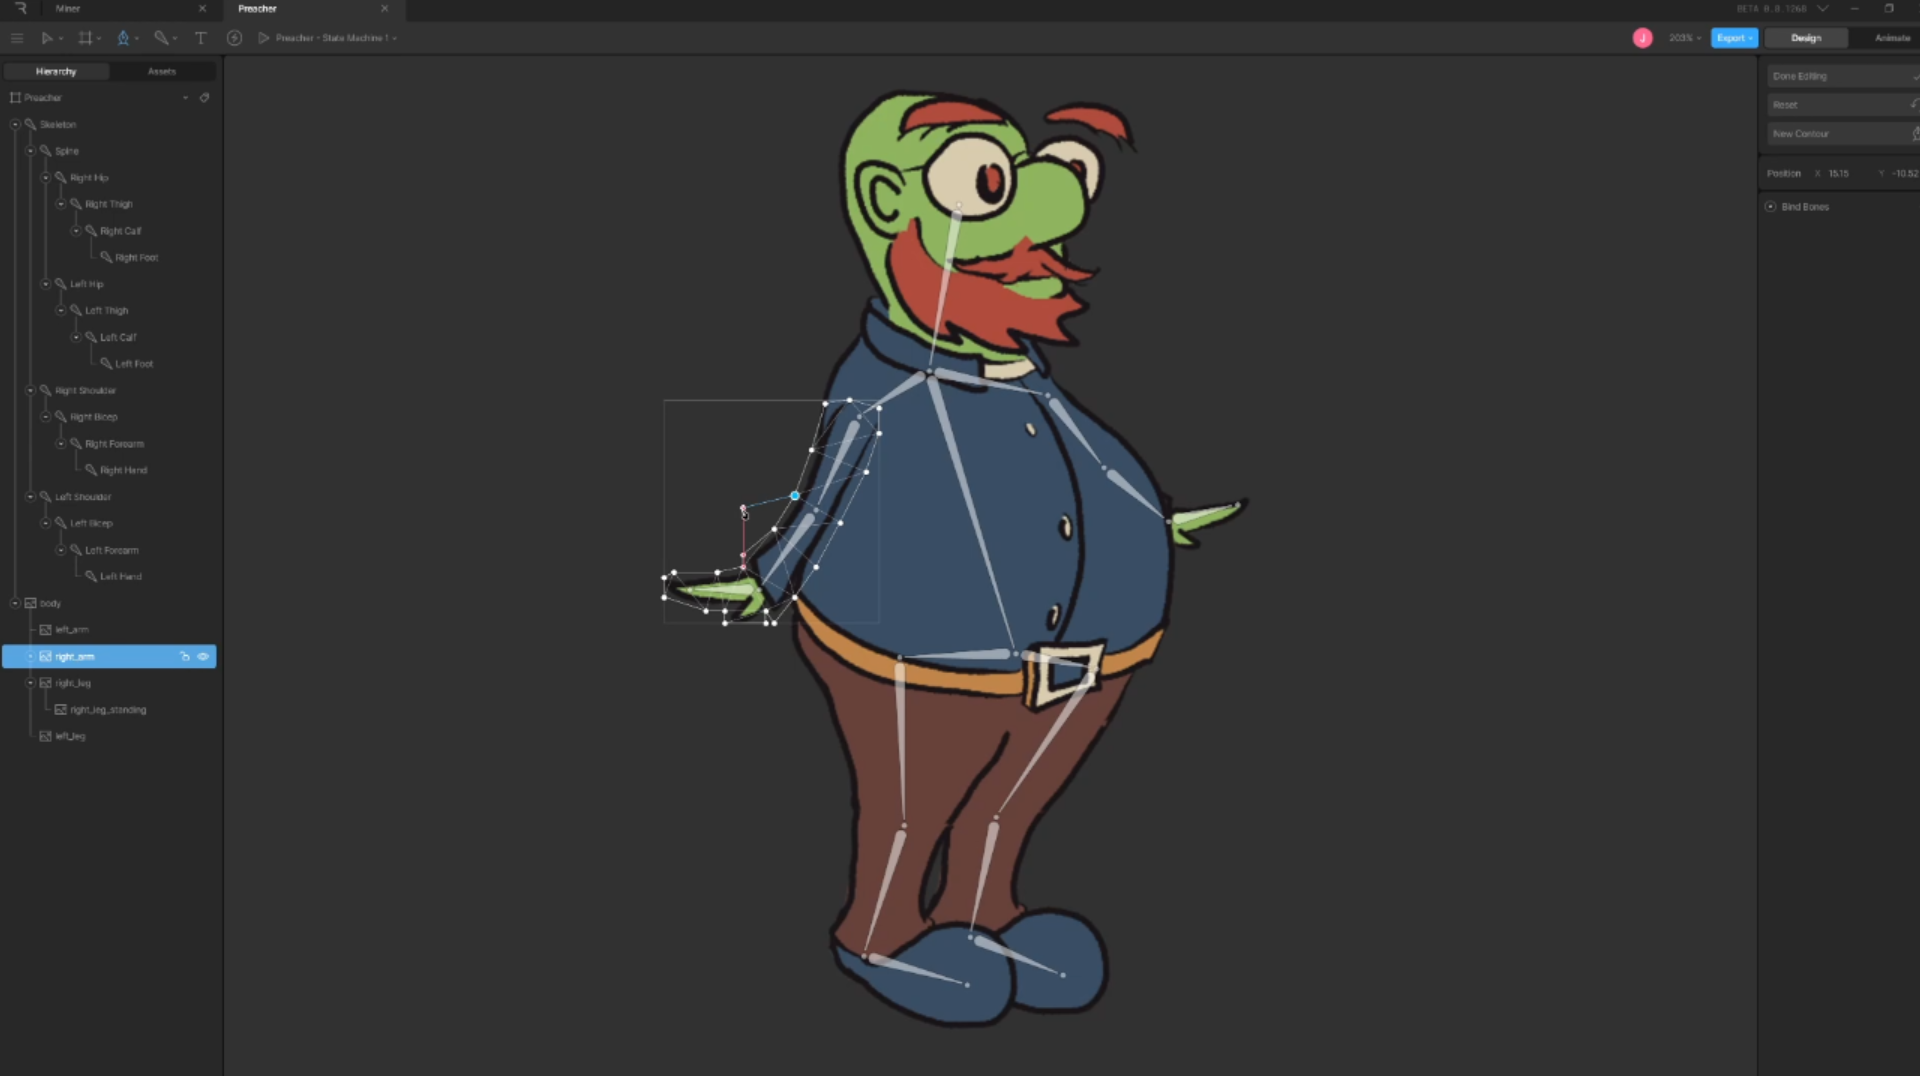
Next, click the plus button by the Bind Bones section on the right. You can then select the bones that will attach to the arm and set the weights. I tend to set them to 100% for the section they are closest to at the beginning. We can back this off later when animating if the pull is too strong.
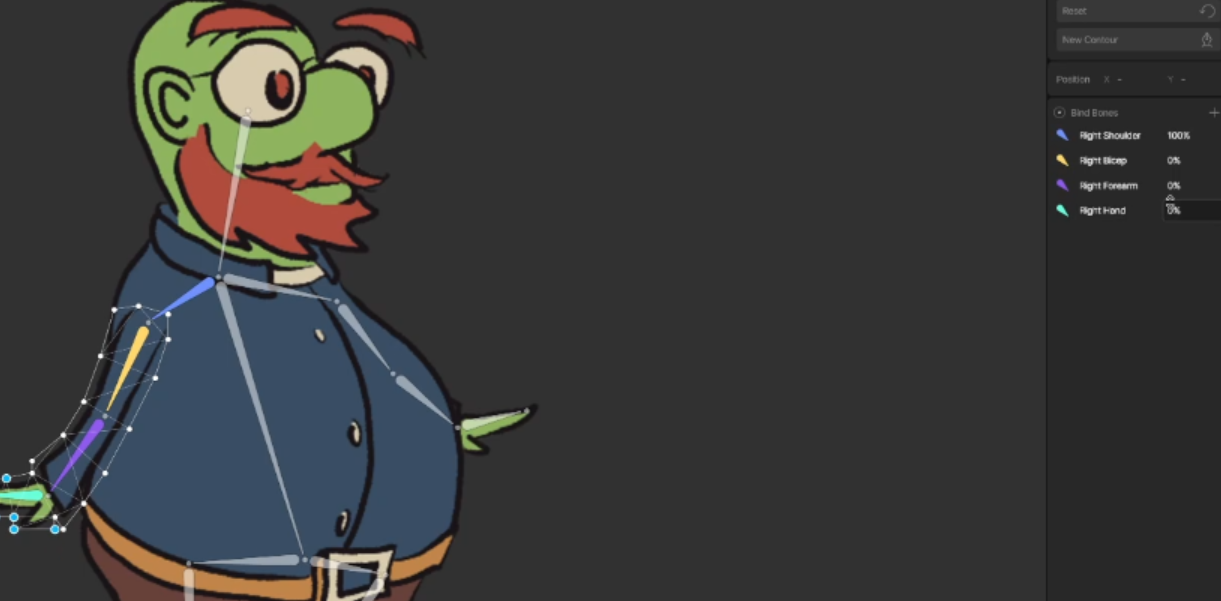
You can switch to animate mode at the top to try out the binding and make sure everything is okay.
Continue the process with the rest of the sections until you have a working character.
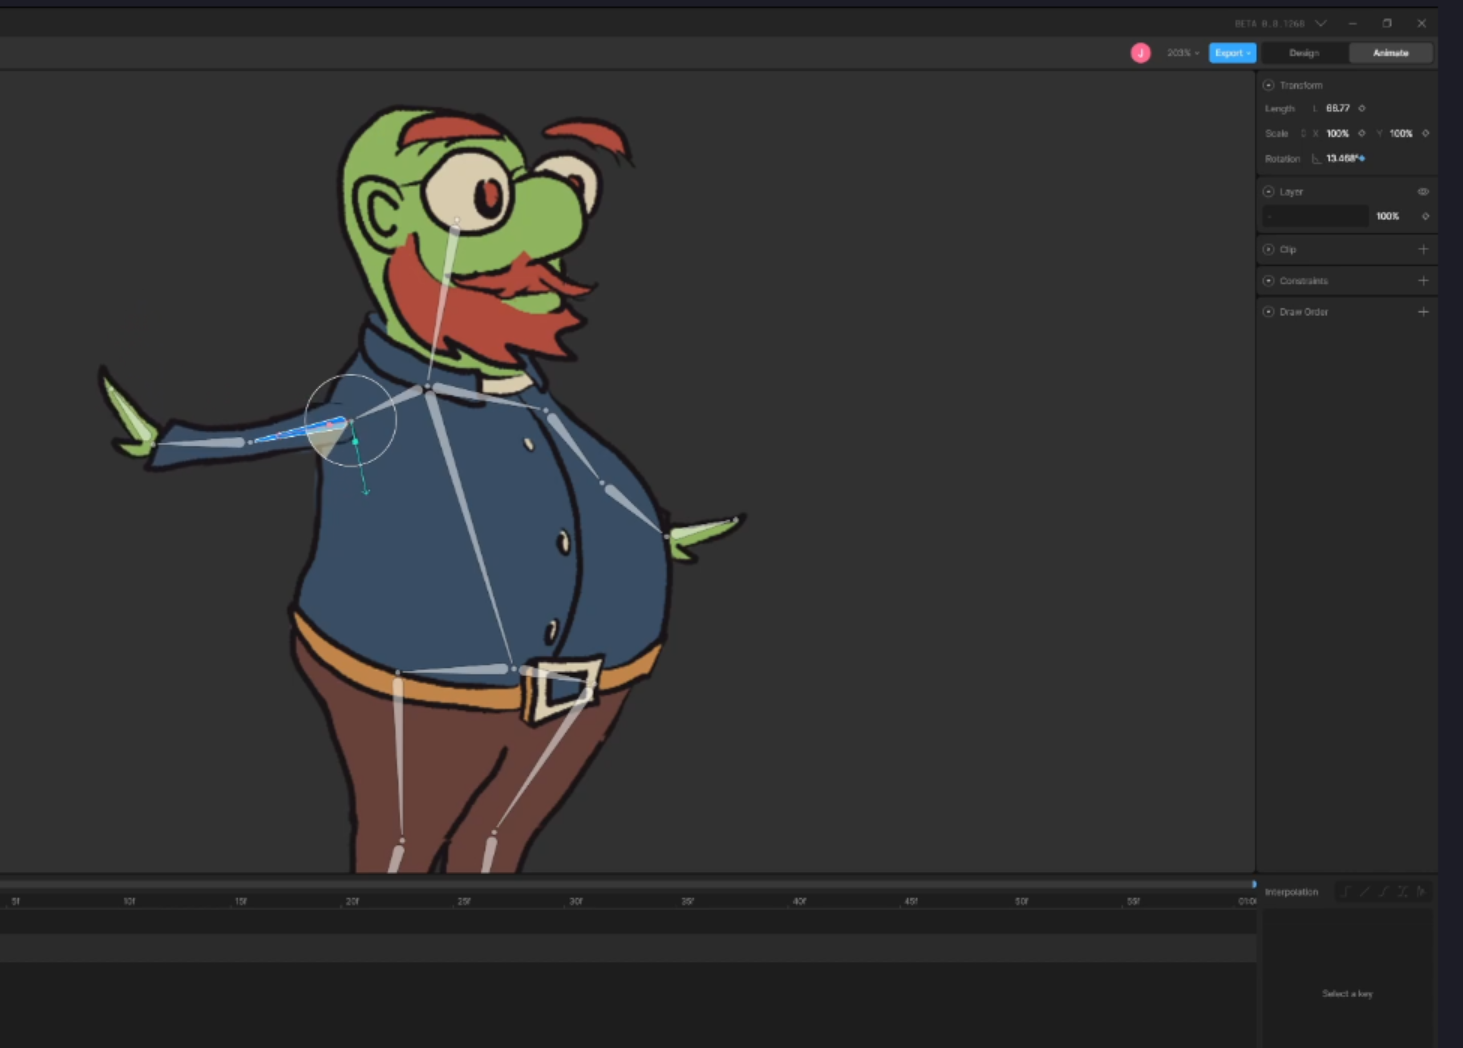
Animating the Character
Now we are ready to animate! I renamed the first animation idle and clicked the diamond next to the position, length, and rotation of all the bones to ensure the character comes back to the same standing pose.
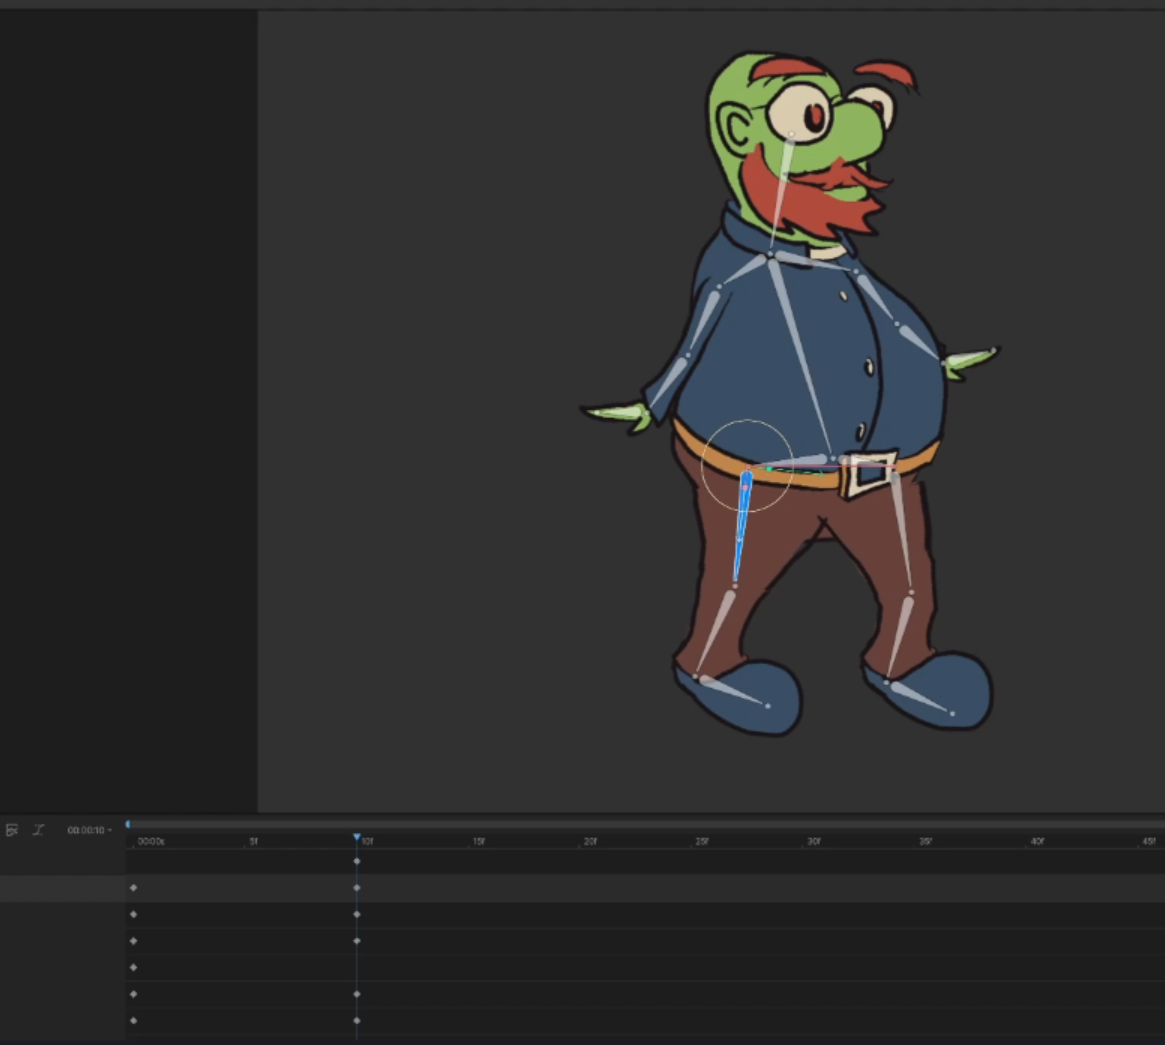
You can use the seek bar to set where along the animation you would like to be. Then simply pose your character.
A standard walk animation is going to be about 1 second which is the default in Rive.
It can be helpful to image search some walkcycles for reference while working and find one that fits your character. while you work.
You may need to go back to the bone binding to adjust weights as you go.
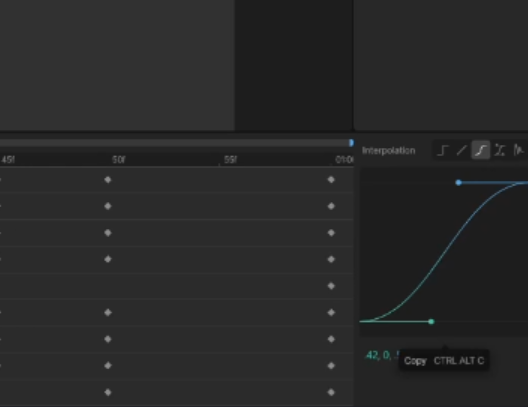
Because this is a walkcycle, it will need to loop. Keyframes can easily be copied and pasted by dragging to select and then right-clicking.
Paste the first keyframe to the last keyframe.

You may also want to change the interpolation on the right to adjust the easing of the animation.
The State Machine
Lastly, we will look at the state machine. This can be a very powerful tool to merge animations together. Select a handle at the edge of the state and drag it to another to create a connection.

We can then create an input such as a boolean to change the character’s state. In this example, we will create one called walking.

You can even change properties like opacity with a keyframe. To change the image that will display when standing, change the opacity in the standing image to 100% in the idle animation and set the walking leg to 0%.
Reverse this at the start of the walking animation.
You now have a fully animated character! With Rive, this can be achieved in a very short amount of time and be used on any of your projects!
Leave a Reply